Greenboard vs. Cement Board: What Actually Goes Behind Your Shower Tile
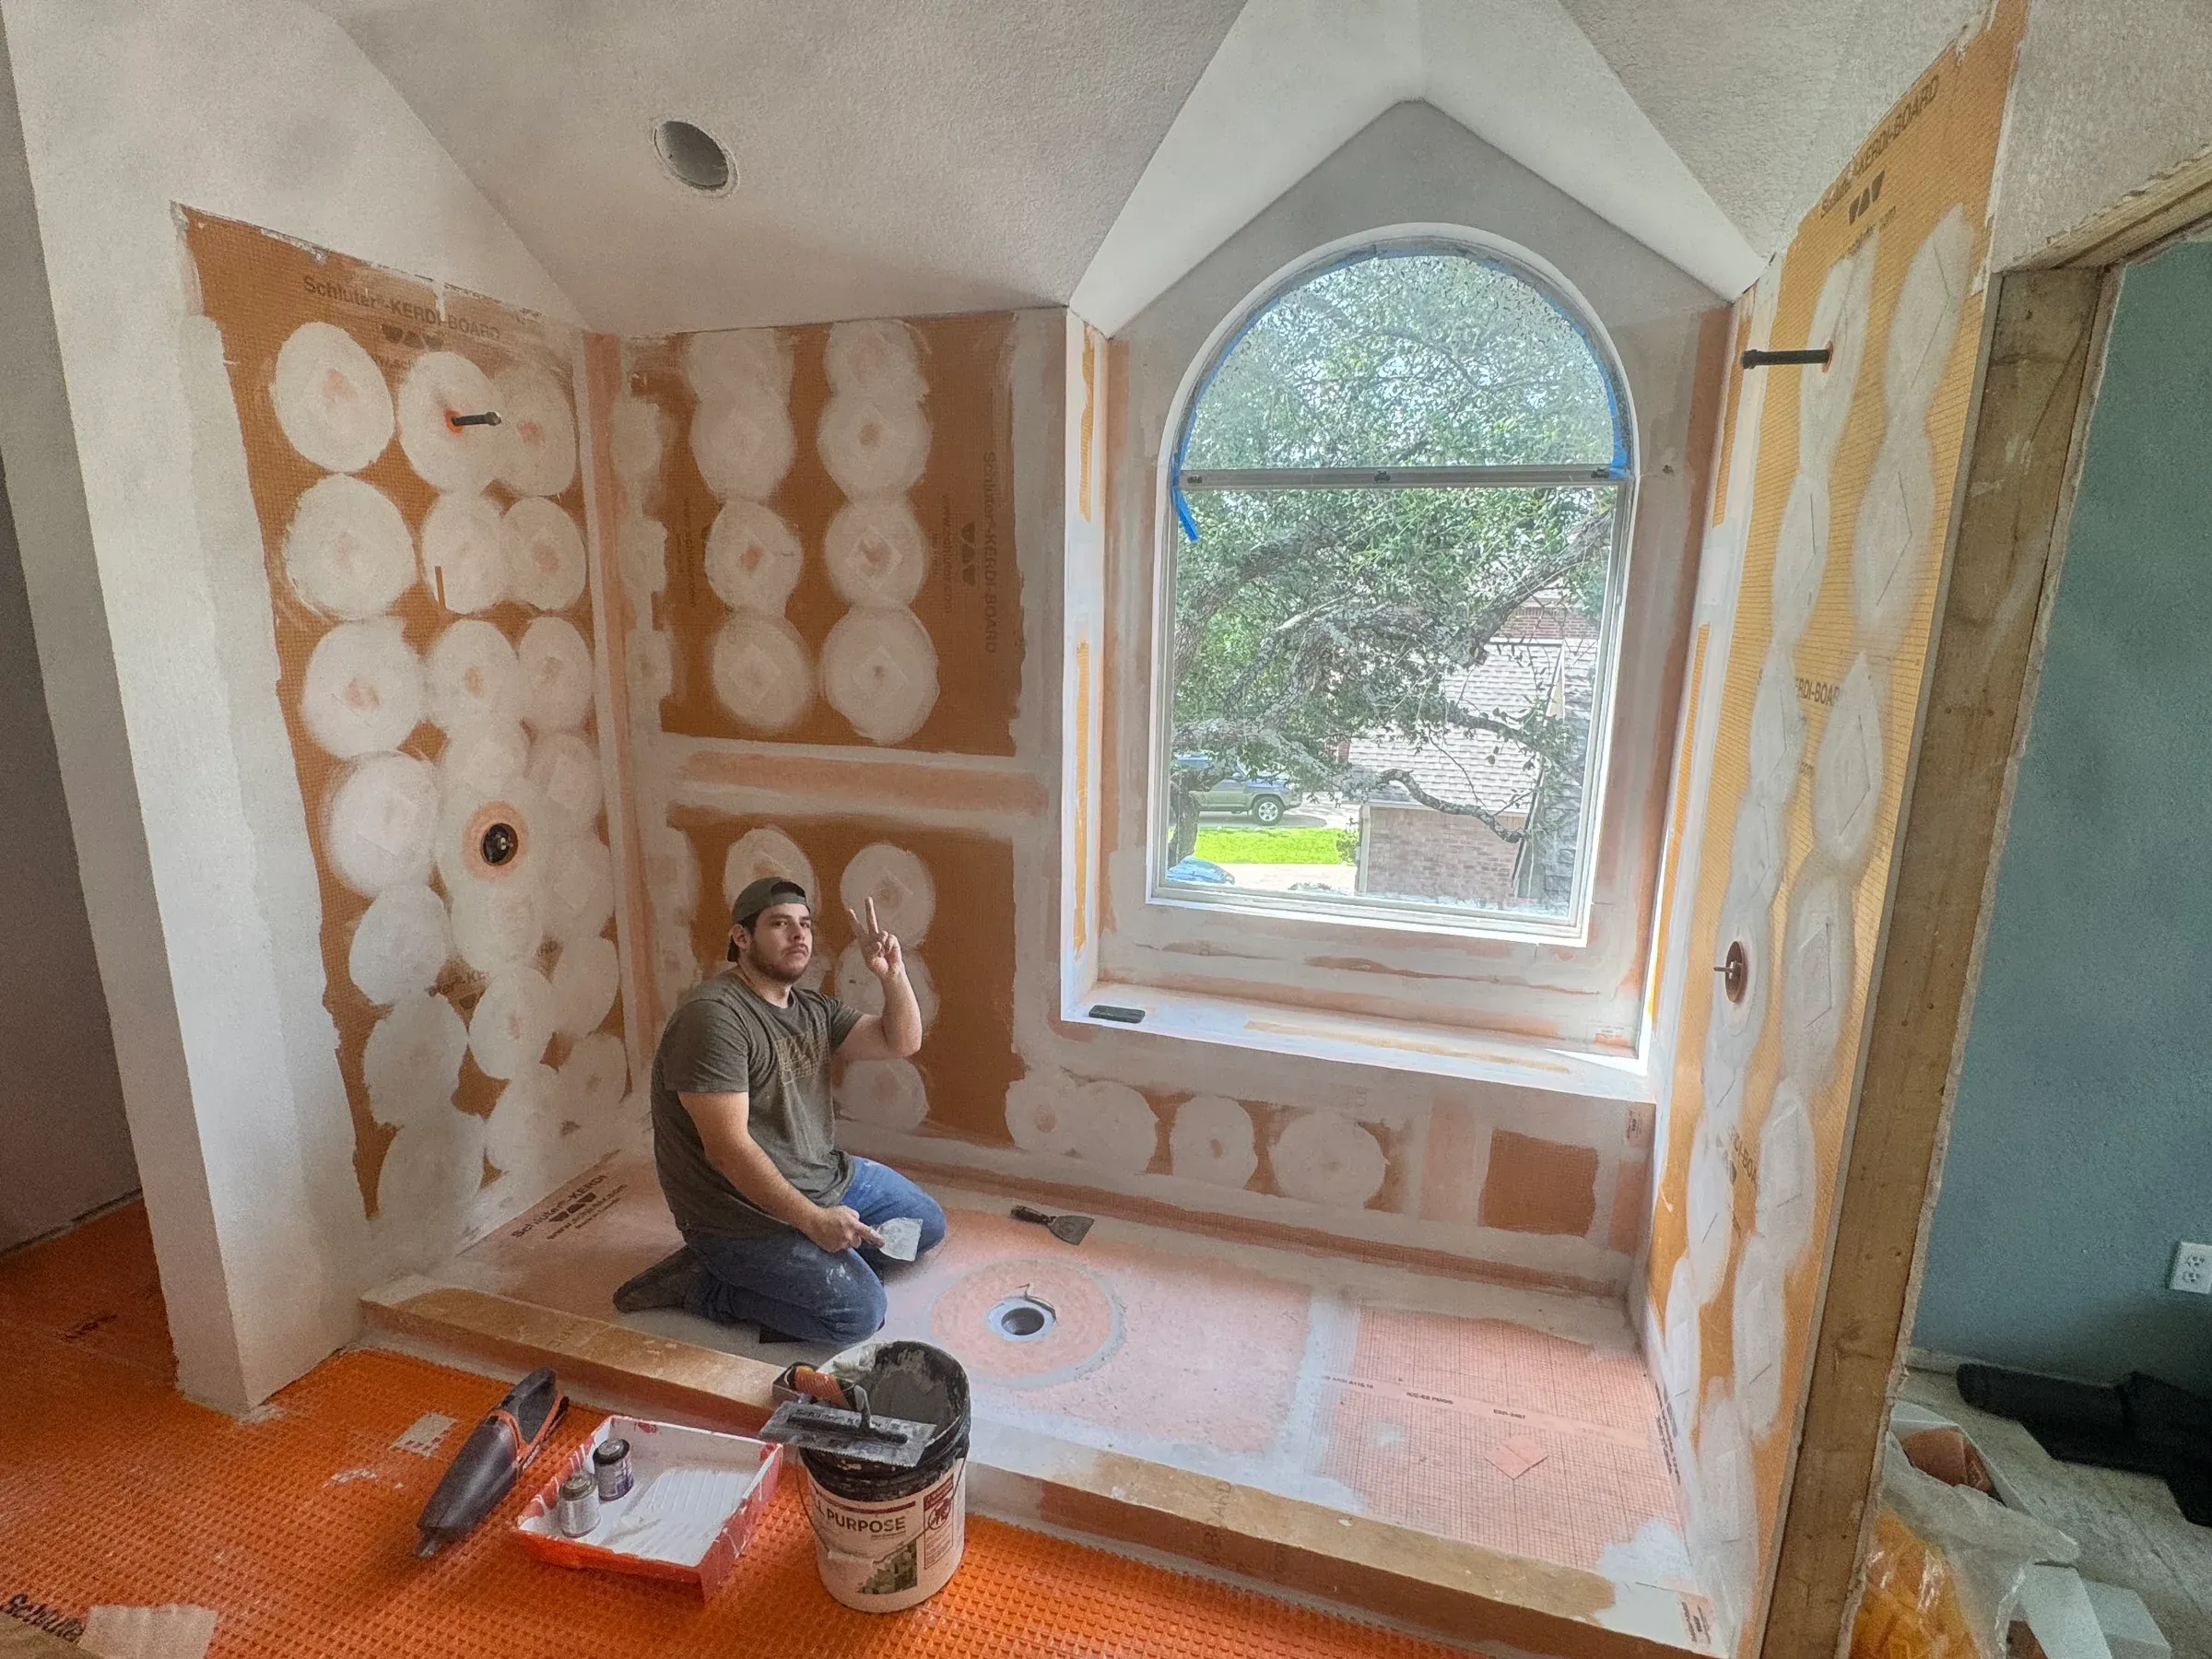
Most homeowners standing in a completed shower are looking at tile. What's behind that tile, the substrate, the waterproofing layer, and how those two things interact with water over years, is invisible by design. And it determines whether a bathroom holds up for twenty years or develops a mold problem behind an otherwise beautiful wall within five.
The choice between greenboard and cement board is made during the design phase of a bathroom remodel, long before a single tile is installed. It's also one of the decisions homeowners rarely think to ask about, and one that some contractors make by habit without explaining the reasoning. This article covers what each material is, where they fail, and what a correctly built shower assembly looks like from the framing outward.
What greenboard is, and where it came from
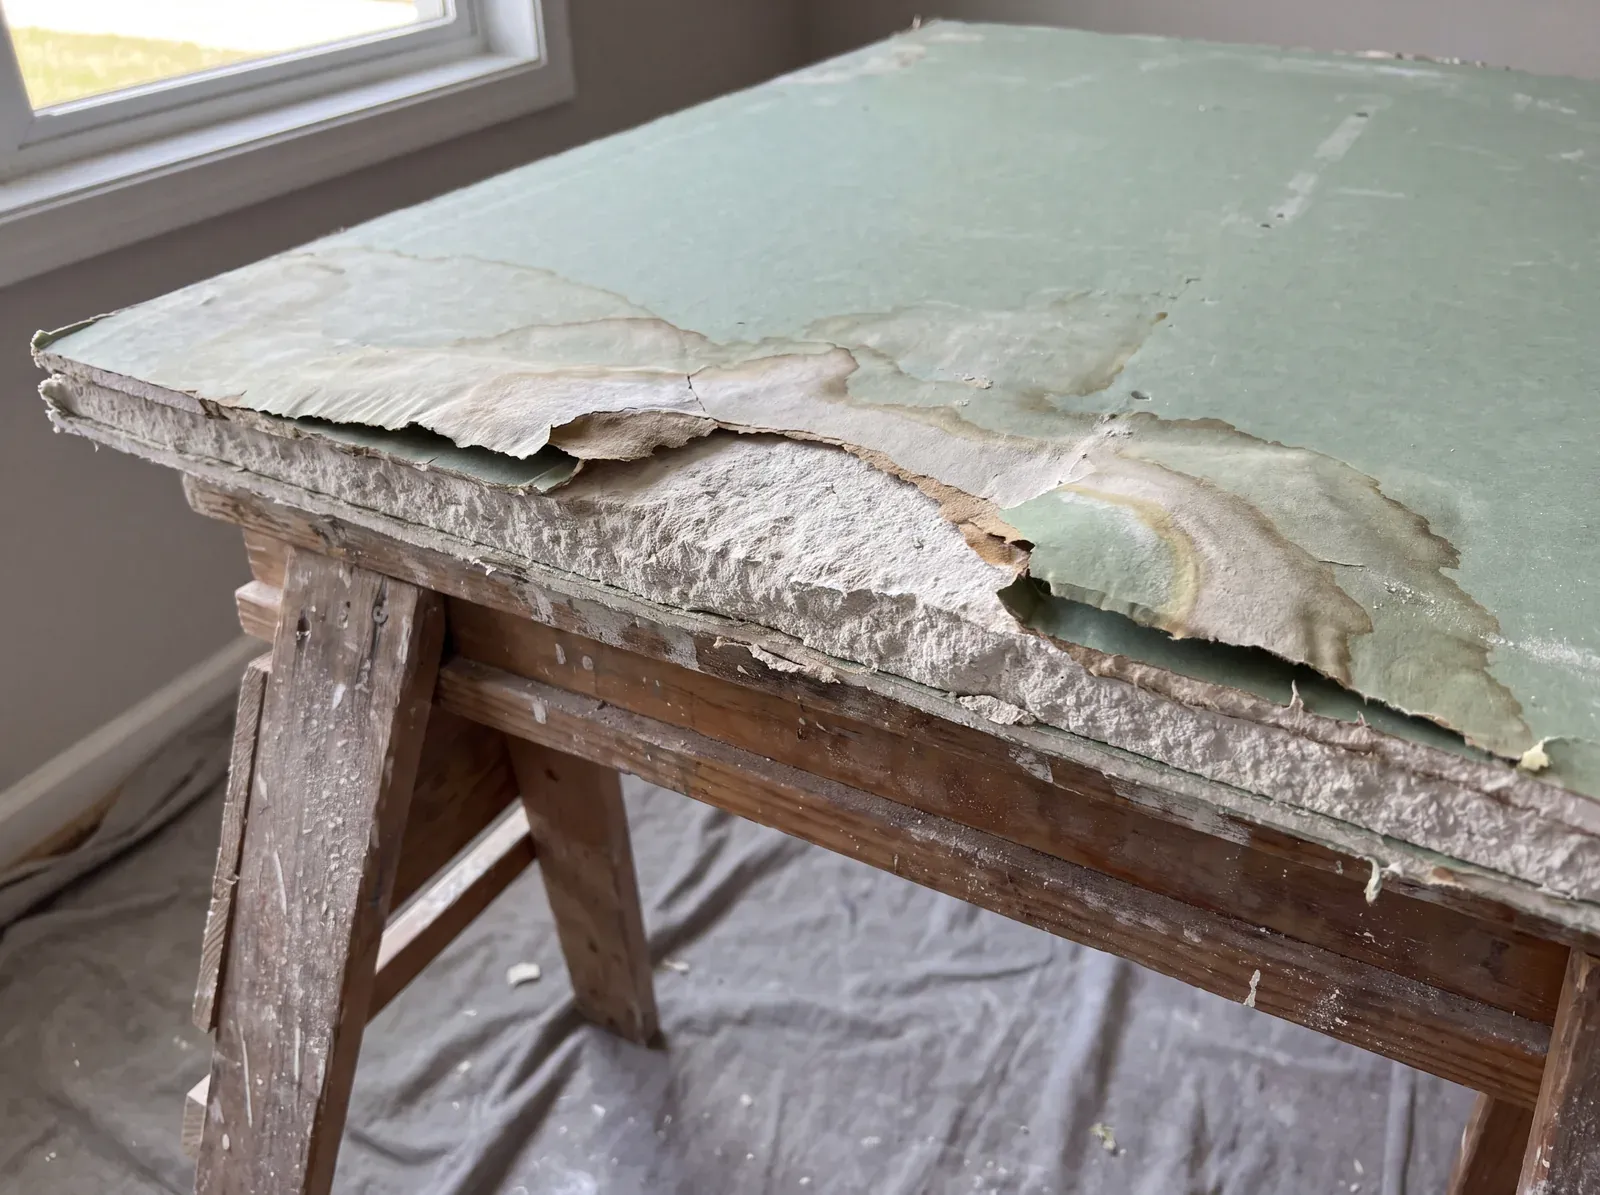
Greenboard is moisture-resistant drywall. Structurally, it's standard gypsum wallboard, a calcium sulfate core pressed between two paper facings, with a water-resistant treatment applied to its surface. The green color distinguishes it from regular drywall at a glance. That's the full extent of the difference.
It became the default substrate for bathroom walls through the 1980s and 1990s because it was a genuine improvement over standard drywall in damp environments. Greenboard can tolerate humidity, steam, and the occasional splash near a vanity without immediately deteriorating. For those applications, it's still a reasonable choice today.
The problem is that "moisture-resistant" and "waterproof" are not the same thing. Greenboard was never designed for direct, sustained water contact. It was designed for damp rooms. A shower surround is a fundamentally different category of application, and this distinction got lost somewhere in decades of contractor habit.
Why does greenboard fail in a shower?
Because gypsum absorbs water, and the moisture-resistant treatment only slows that process. In a shower surround, water doesn't just sit on the surface. It finds its way behind the tile through grout lines, imperfect caulk seams, and the microscopic gaps that develop as materials flex with temperature and repeated use.
Once water reaches the greenboard core, the material begins to soften. The process is slow and entirely invisible. Tiles begin to sound hollow when tapped. Individual tiles loosen. Grout lines widen or crack. In the dark, damp space behind the tile, with no airflow and consistent moisture, mold forms and spreads. This failure pattern shows up regularly in older Austin bathrooms, and it's one of the most common findings during a pre-construction mold assessment.
Cement board: a different material category
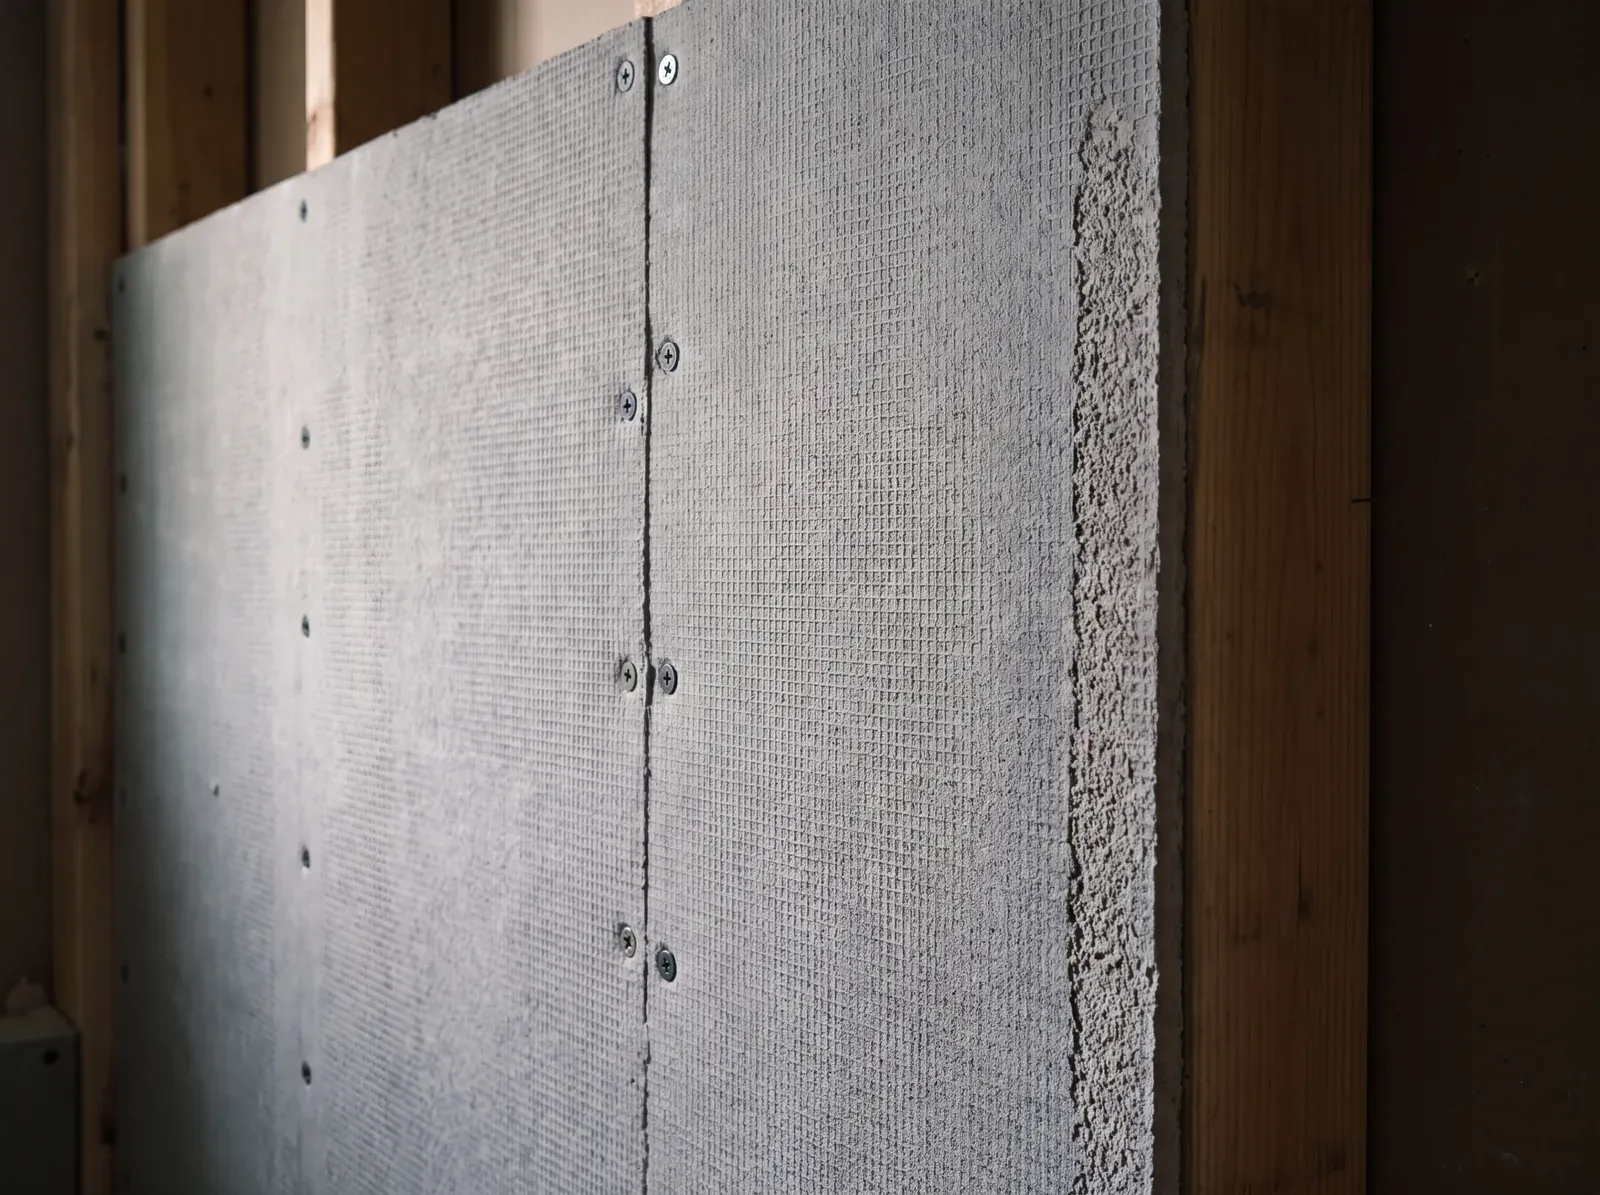
Cement board, sold as HardieBacker, Durock, and similar products, has no gypsum core. The substrate is made from portland cement and aggregate, reinforced with a fiberglass mesh. It doesn't soften when wet, it doesn't swell, and it doesn't provide the organic material that mold needs to grow.
For shower surrounds and other direct-wet applications, cement board is the correct substrate. Its performance record over two decades is clear: cement doesn't deteriorate from water exposure the way gypsum does. The cost differential is modest, typically $0.50 to $1.00 per square foot of material, which puts the difference on a standard shower surround under $100. The labor difference is also minor. The risk difference is not.
At that price difference, the specification is not a budget decision. It's a diligence decision, and the details of the installation matter as much as the board itself. Three things worth confirming with your contractor before the panels go up:
The waterproofing membrane is the critical layer
This is the part that surprises most homeowners: cement board alone is not a waterproof installation. Cement board is moisture-stable and mold-resistant, but it is not a waterproof barrier. Water that passes through grout lines and tile can still reach it, and if there's no membrane between the board and the framing, water will eventually reach the wood structure behind it.
The waterproofing membrane creates the actual barrier: a continuous layer between the cement board surface and the tile mortar bed that water cannot pass through. Two systems are standard in high-quality residential construction, and the right one depends on the installation.
Schluter Kerdi
Sheet membrane, mortar-anchored
What it is
Thin polyethylene sheet bonded to fleece on both sides
Application
Set over cement board in unmodified thinset; tile bonds directly to it
Best fit
Complex geometry: niches, curbless transitions, custom drains
RedGard
Liquid-applied, brushed or rolled
What it is
Elastomeric coating that cures into a continuous barrier
Application
Applied to cement board at a specified coverage rate and thickness
Best fit
Simpler configurations where a rolled application is easy to keep consistent
Both systems perform well when installed correctly, and the key word is correctly. Each has specific requirements for seam overlap, inside corners, and coverage around drains and niches that determine whether the assembly actually holds. Those specifications are confirmed during the design phase and reviewed during installation, not figured out mid-project; that documentation is part of the full build process.
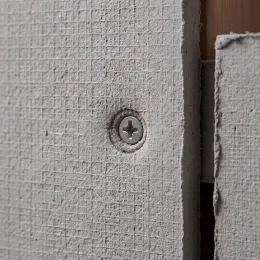
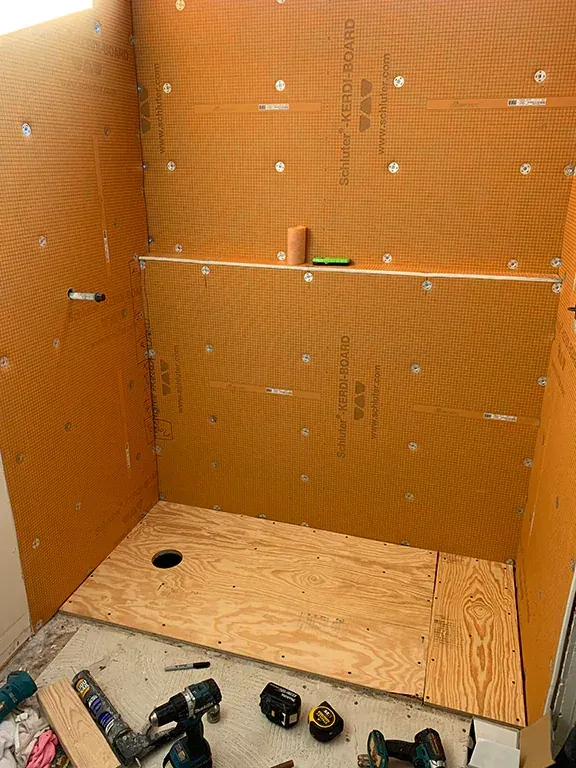
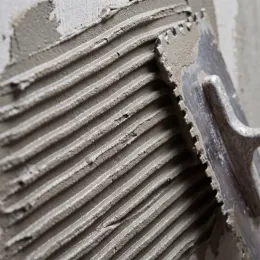
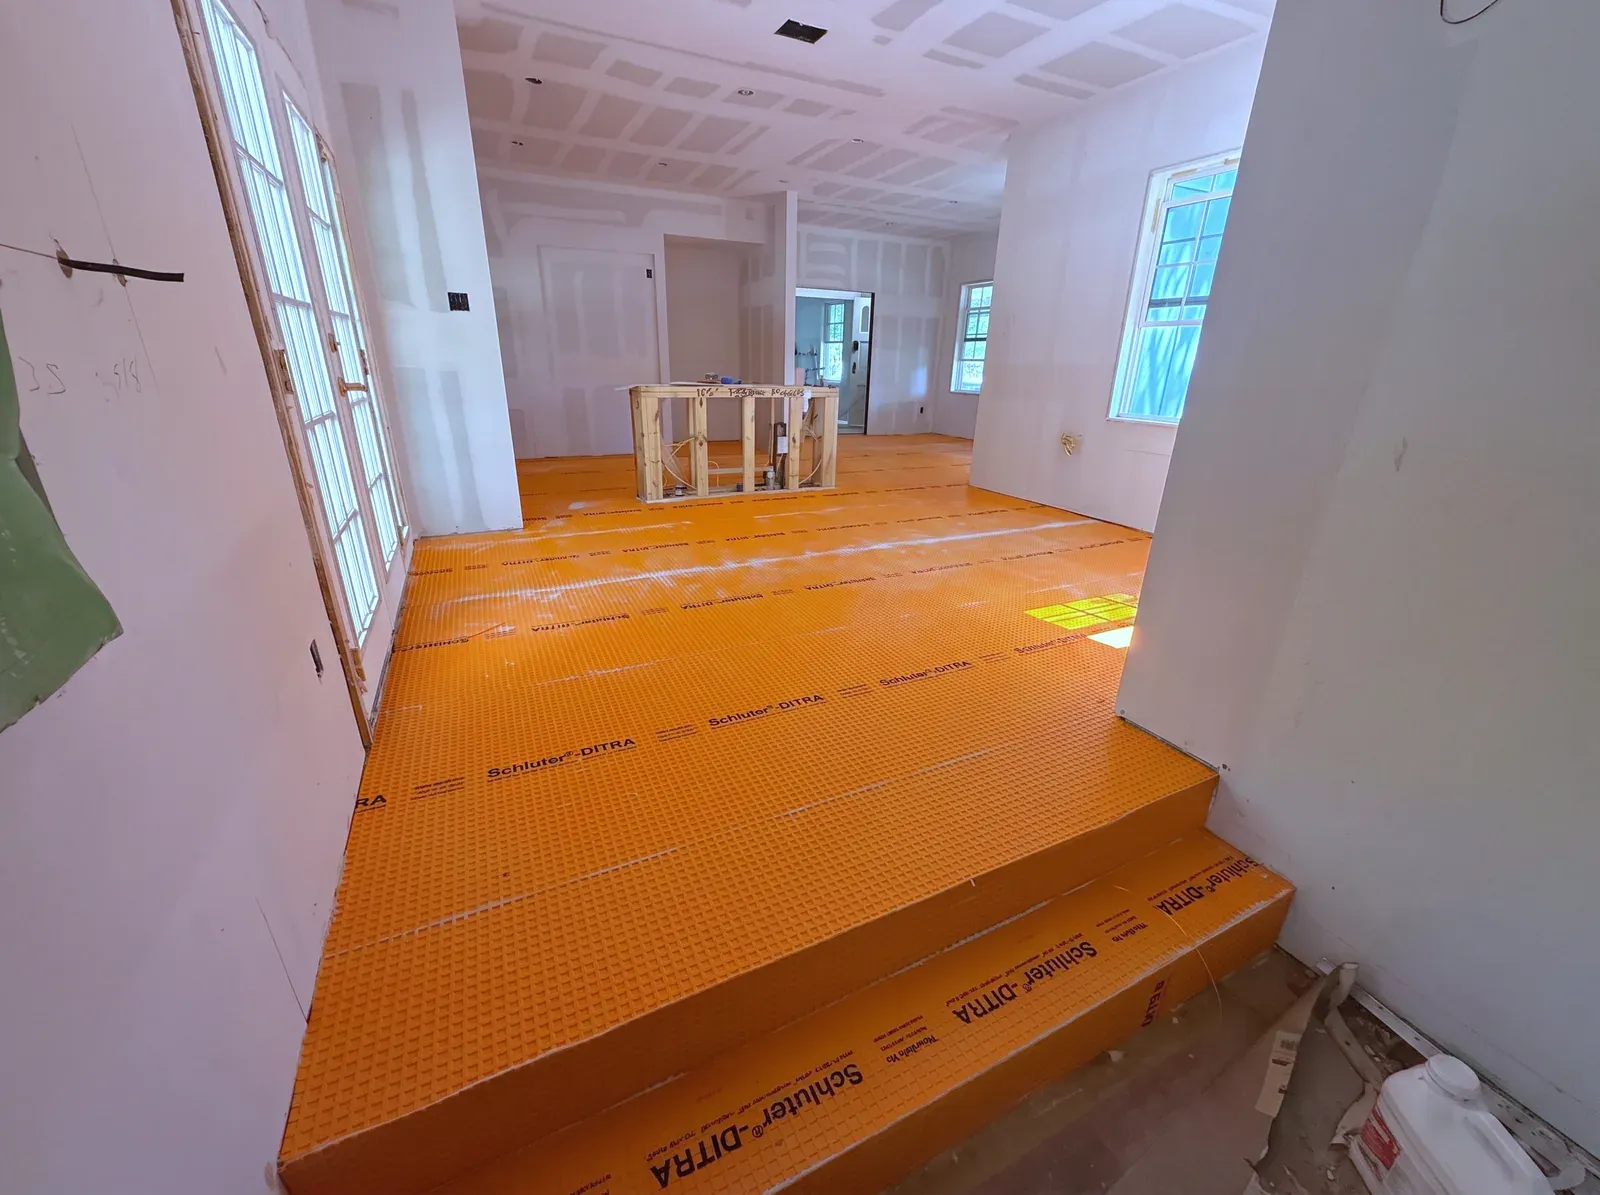
The 88px photo slots take process shots from a real installation: framing, board, membrane, thinset, finished tile.
Read from the studs outward, the assembly makes the division of labor clear: the substrate handles stability and mold resistance, the membrane handles water, and the tile handles almost nothing except looking good. A shower fails when a layer is asked to do a job it wasn't designed for.
What "mold behind the tile" actually looks like
When a homeowner discovers mold behind their shower tile during a remodel, what they're typically looking at is the consequence of greenboard installed without a waterproofing membrane. The tile itself may be visually intact. The grout may look presentable. But years of small water intrusions have deteriorated the substrate and created conditions for mold growth in a location with no airflow, no light, and consistent moisture.
"A shower can look completely fine on the surface while the substrate behind it is already failing."
In Austin specifically, this finding is most common in bathrooms last renovated in the 1980s or 1990s, or in older pier-and-beam homes from the 1920s through 1960s where original tile was laid directly over gypsum board without any waterproofing system. The existing conditions behind a bathroom wall are genuinely unknown until the wall is opened, which is why pre-construction assessment happens before scope is finalized.
The connection to air quality is direct: mold behind a shower wall isn't contained to the wall cavity. It affects the air in the bathroom and in adjacent rooms. Getting the substrate system right is one of the clearest expressions of what building for health actually means in practice, and it costs almost nothing extra to do correctly from the start.
Replacing a shower? Here's what we'd put behind your tile
Cement board substrate and a continuous waterproofing membrane, specified before installation begins. Tell us about your project.
What Enso specifies, and why
On every Enso bathroom remodel in Austin, shower surrounds and direct-wet areas receive cement board substrate and a continuous waterproofing membrane. Both are specified during the design phase and documented in the project plans before tile selection or installation begins. The membrane system is chosen based on the specific conditions of the project: shower size, drain type, whether a niche is involved, and whether the threshold is curbed or curbless.
The reasoning is uncomplicated. The materials that perform reliably in wet environments are well established, the cost differential is small relative to the total project investment, and the failure mode for the wrong specification is expensive and disruptive to fix years later. Specifying greenboard in a shower surround in 2026 is not a cost-saving decision. It's a deferred liability.
Where each material belongs
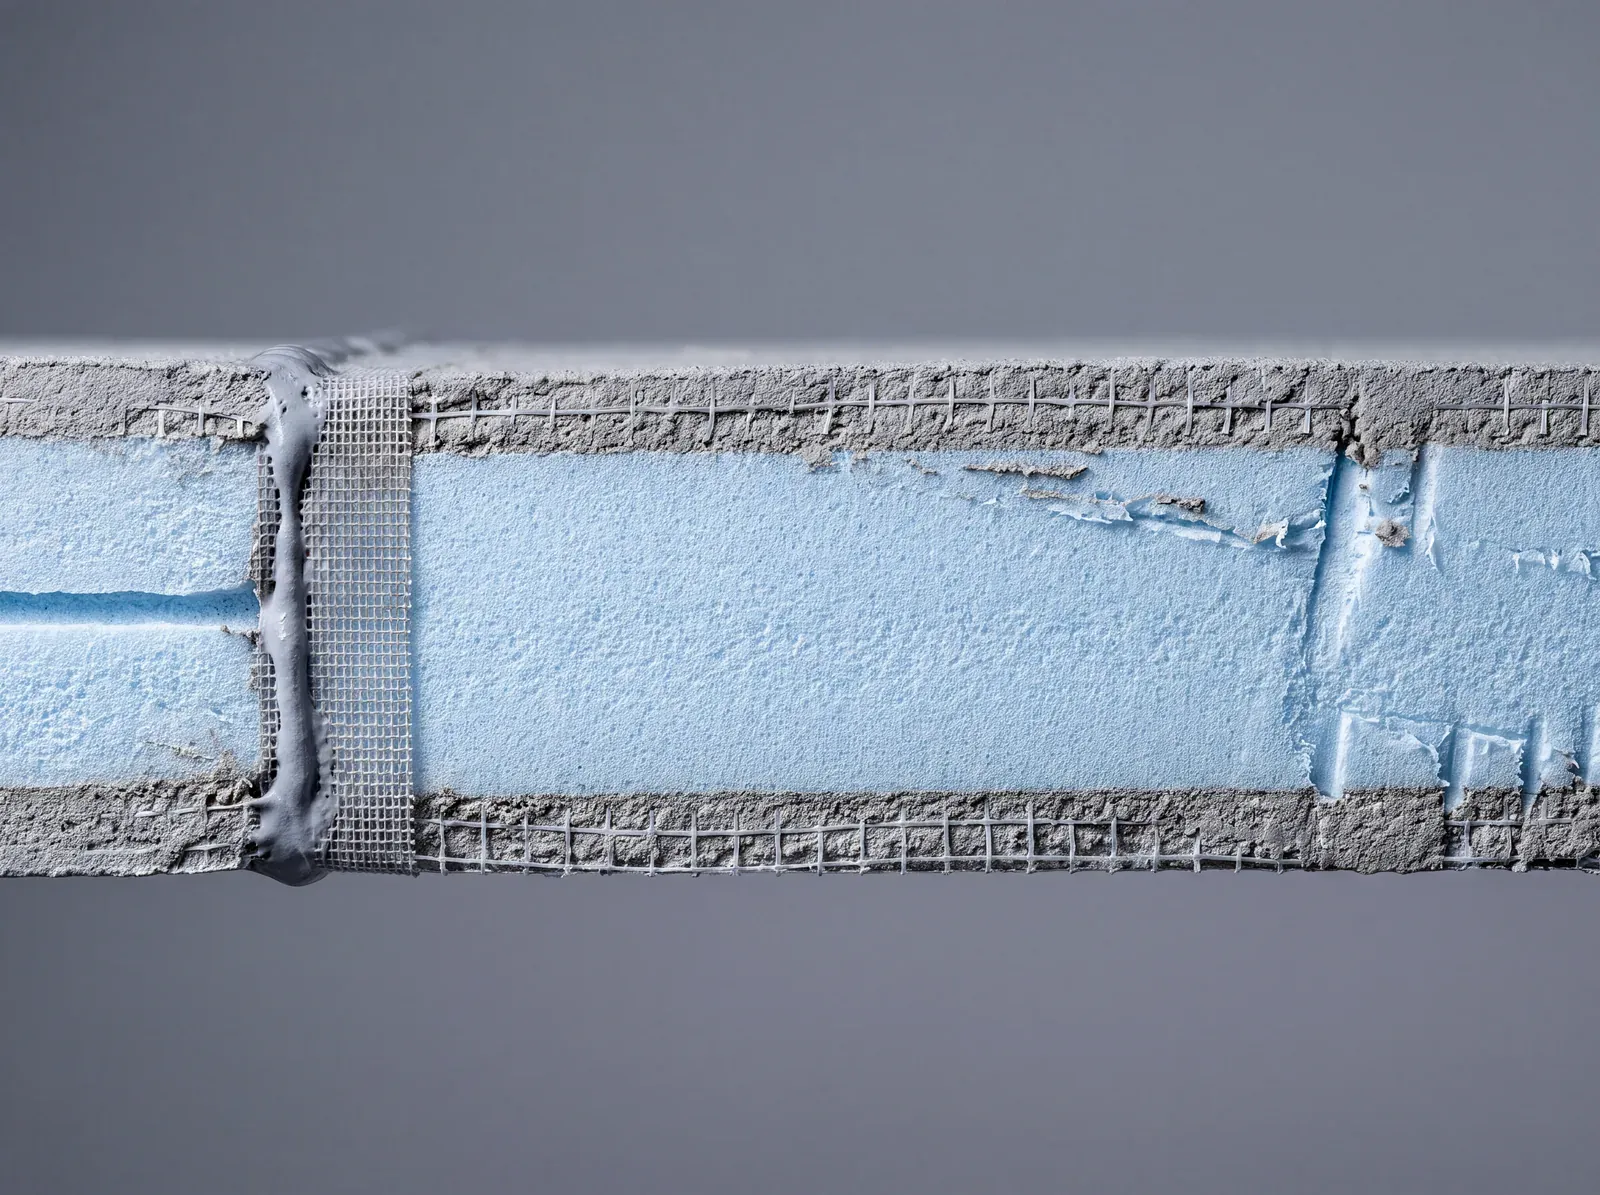
A fourth category worth knowing about is rigid foam shower panels, systems like Wedi and Schluter Kerdi-Board, which integrate substrate and waterproofing into one product. The full lookup:
| Material | In a shower surround | Where it belongs |
|---|---|---|
| GreenboardMoisture-resistant drywall | Never | Humid areas outside the wet zone: near a vanity, bathroom ceilings, above a tub deck. |
| Cement board aloneHardieBacker, Durock | Incomplete | Mold-resistant substrate, but not waterproof on its own. Always paired with a membrane. |
| Cement board + membrane Enso specKerdi, RedGard, or equivalent | Correct | All shower surrounds, curbless thresholds, and direct-wet tile floors. |
| Foam shower panelsWedi, Kerdi-Board | Situational | Steam showers, curbless designs, and complex geometry where membrane consistency is hard to control. |
Status dots follow the sitewide convention: red for never, amber for incomplete, green for correct, stone for situational.
Foam panels are more expensive: typically $8 to $15 per square foot versus $3 to $6 for the traditional cement board and membrane system. For most standard showers, a well-installed traditional assembly performs equivalently over time. Where foam panels earn their cost is in high-demand or geometrically complex installations, and they're a legitimate option worth discussing when the installation has those demands, not a premium novelty.
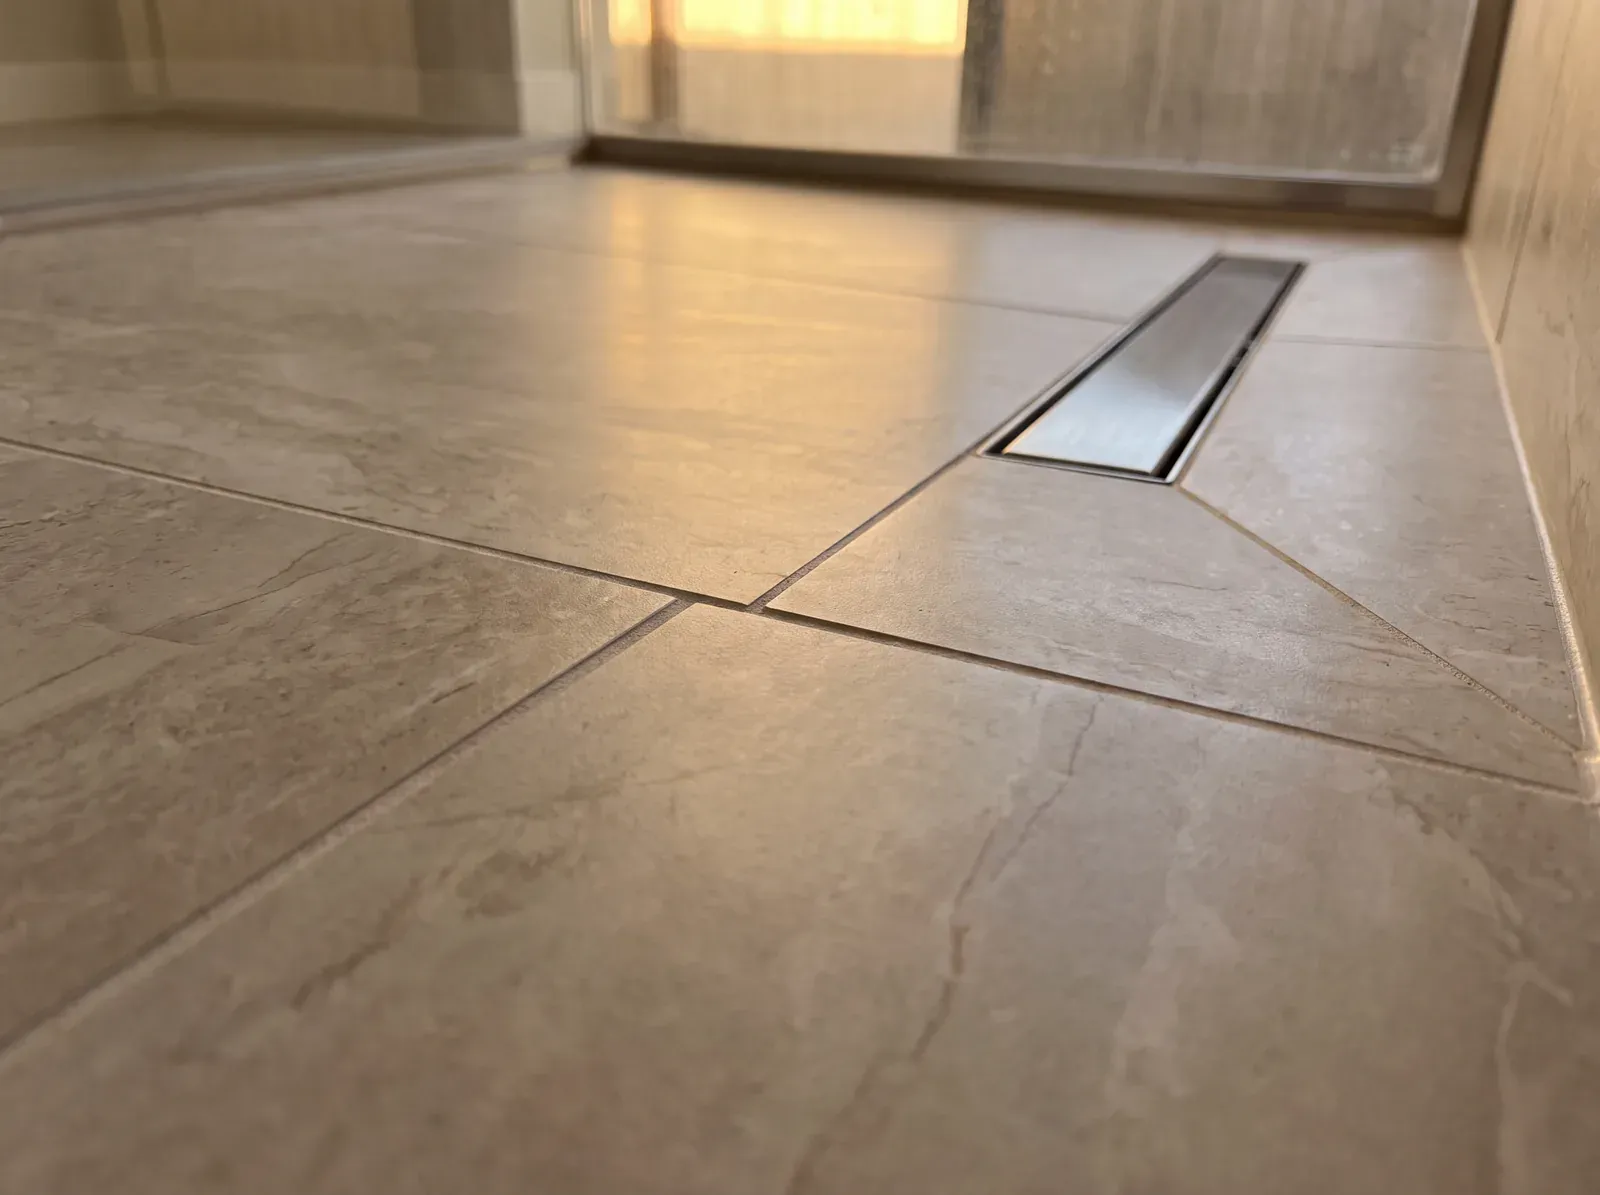
These decisions get worked through, in writing, before installation on every project; you can see how in completed Austin projects, or run the cost calculator for a baseline range before any conversation happens.
Leftover questions
The substrate question is answered above. These are the adjacent questions homeowners ask once they start thinking about what's behind their own tile.
Yes, in areas that experience humidity and occasional splash but not direct sustained water contact. Above a tub deck, behind a toilet, near a vanity, or on a bathroom ceiling are all reasonable greenboard applications. The line is the wet zone: any surface where the shower stream or tub water contacts the wall directly. In those areas, greenboard will eventually fail.
Let's get your shower built the right way
Cement board and continuous waterproofing, specified before anything is installed. You'll leave with real next steps, whether or not we build together.