Why Your Bathroom Fan Might Be Making Your Mold Problem Worse
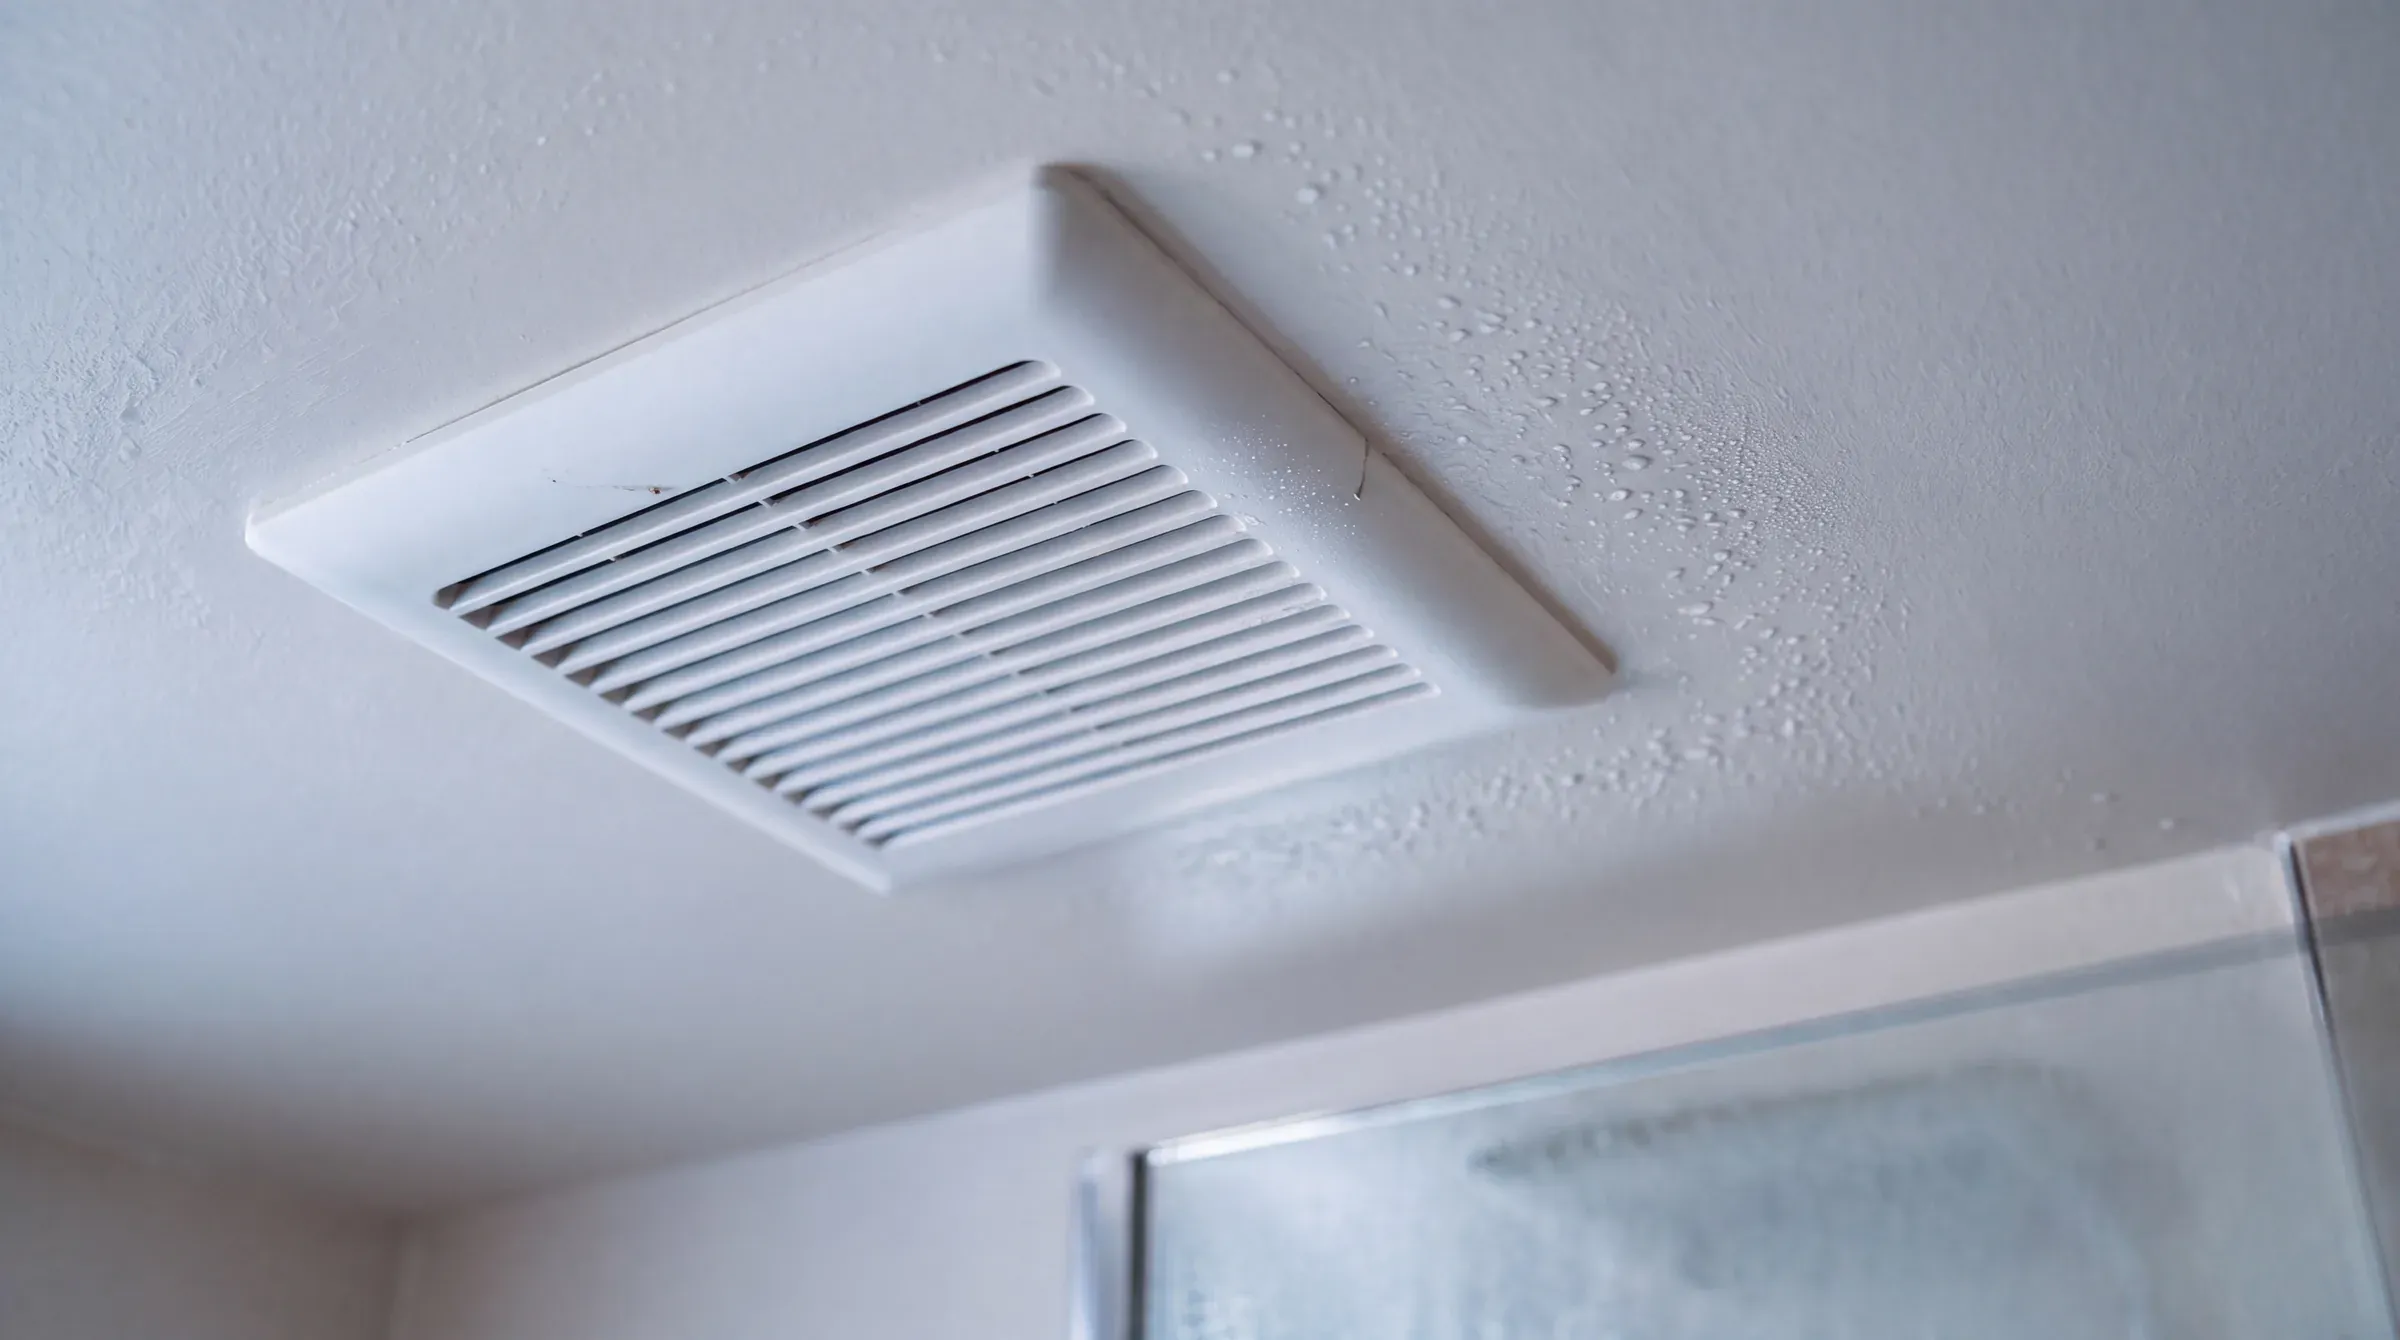
If mold keeps returning in a bathroom you've cleaned, bleached, and scrubbed more than once, the fan is worth examining before anything else. Bathroom mold is almost never a cleaning problem. It's a moisture problem, and moisture is almost always a ventilation problem. Three conditions make most bathroom fans fail at the one job they're installed to do: the fan is undersized for the room, the duct terminates in the attic instead of outdoors, or it doesn't run long enough to clear humid air from the space. All three together, common in older Austin homes, means the fan is essentially decorative.
This article explains the mechanics of each failure, how to check your current setup, what proper ventilation design looks like, and why Austin's climate makes this matter more than it would in a drier market. If you're planning a bathroom remodel, ventilation is a design decision that needs to be made before tile goes up, not discovered during demolition when the damage is already visible.
Why moisture, not dirt, is the real cause of bathroom mold
Mold needs three things to grow: a food source, the right temperature, and moisture. In a bathroom, the food source (organic material in grout, drywall paper, paint) and the temperature (your home) are both constants. Moisture is the only variable you can actually control.
Every shower introduces an enormous amount of water vapor into the air. A standard 10-minute shower in a 50-square-foot bathroom can raise relative humidity from 50% to over 90%. At that level, moisture begins condensing on cooler surfaces, like tile grout, ceiling corners, and the silicone bead around the tub, and if it stays there long enough, the mold spores that are always present in indoor air find the conditions they need to colonize.
The practical implication: no amount of cleaning addresses mold permanently if the moisture conditions that allow it to grow are never resolved. Surface treatments kill what's visible. They do nothing about what's behind the tile or inside the wall cavity if moisture is consistently reaching those surfaces.
The three ways bathroom fans fail
Most bathroom fans in Austin homes that aren't preventing mold are failing in one of three specific ways. They're not malfunctioning; they're running exactly as installed. The installation is just wrong.
Undersized for the room
The fan is running, but it can't move enough air to clear humidity before mold conditions set in.
Exhaust fans are rated in CFM, cubic feet per minute, and the standard calculation is 1 CFM per square foot of floor area. Many older Austin bathrooms have 50 CFM fans regardless of room size, because that was the default spec at the time. In a full bathroom with a shower, it often isn't enough. The fix: size the fan to the room and its fixtures, using the reference table below.
Ducted into the attic instead of outside
The fan sounds like it's working, because it is. It's just exhausting humid air into your home's structure.
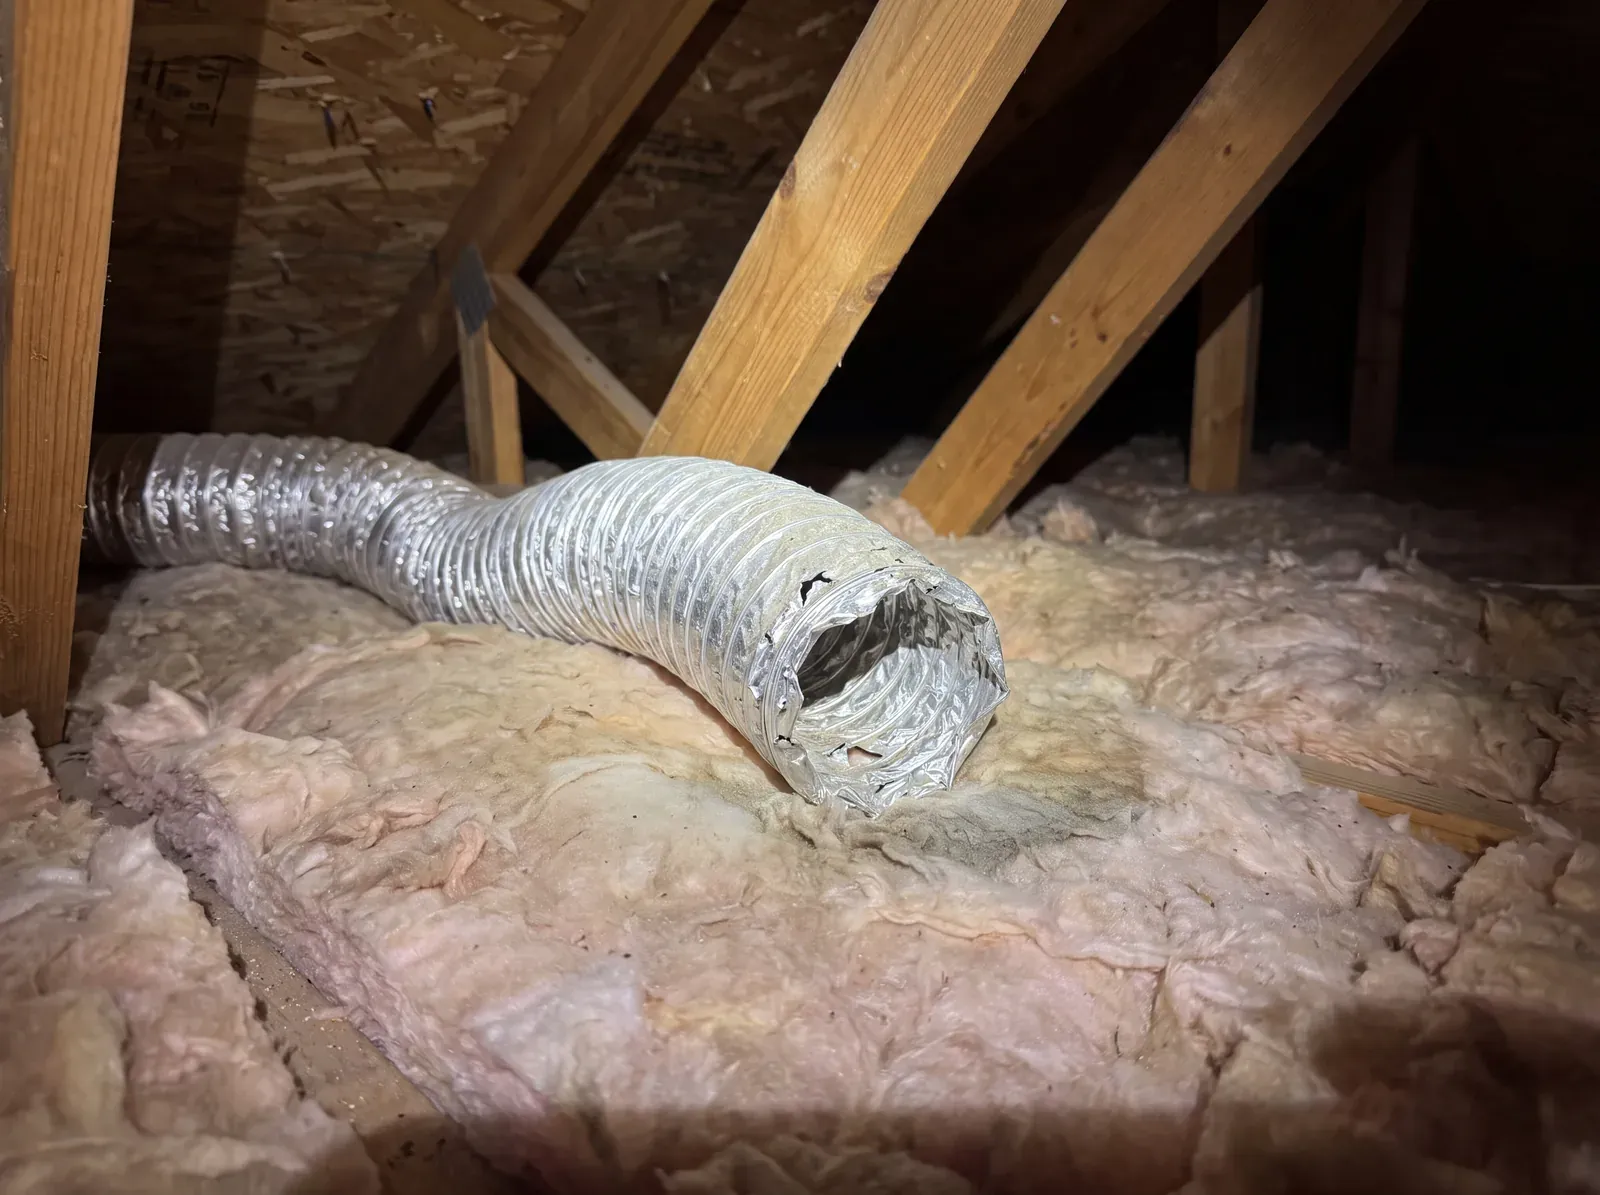
Attic termination was a common installation shortcut for decades. The result: every shower deposits moisture directly into the building assembly. Insulation absorbs it, sheathing absorbs it, and mold follows, often invisibly, for years. The fix: reroute the duct to an exterior vent cap, which is where every mold-resistant bathroom remodel begins.
Not running long enough
Most people turn the fan off when they leave the room, well before the humid air has cleared.
After a standard shower, a properly sized and ducted fan needs a minimum of 20 minutes to bring humidity back to safe levels. The problem isn't discipline; it's design. A fan on the same switch as the light will always get turned off too soon. The fix: a timer switch set to 20 or 30 minutes, or a humidity-sensing fan that runs until the air clears.
Of the three, the duct termination is the one most worth checking first. It's invisible from inside the bathroom, and it does damage far beyond the room itself.
Remodeling a bathroom? Ventilation is a design decision
Fan sizing, duct routing, and substrate are settled before tile goes up. That's how we keep these problems from recurring.
How do you test whether your fan is actually working?
Two simple tests will tell you most of what you need to know about your existing exhaust fan before any professional assessment.
The tissue test
Turn on the exhaust fan and hold a single sheet of toilet paper flat against the grille. If the fan's suction holds the paper in place on its own, airflow is at least adequate. If the paper falls away, airflow is too weak, which means the fan is undersized, the duct has too many bends or too long a run, or the motor has degraded with age. A fan that passes the tissue test isn't necessarily performing at full spec, but one that fails it definitely isn't.
Find where your duct terminates
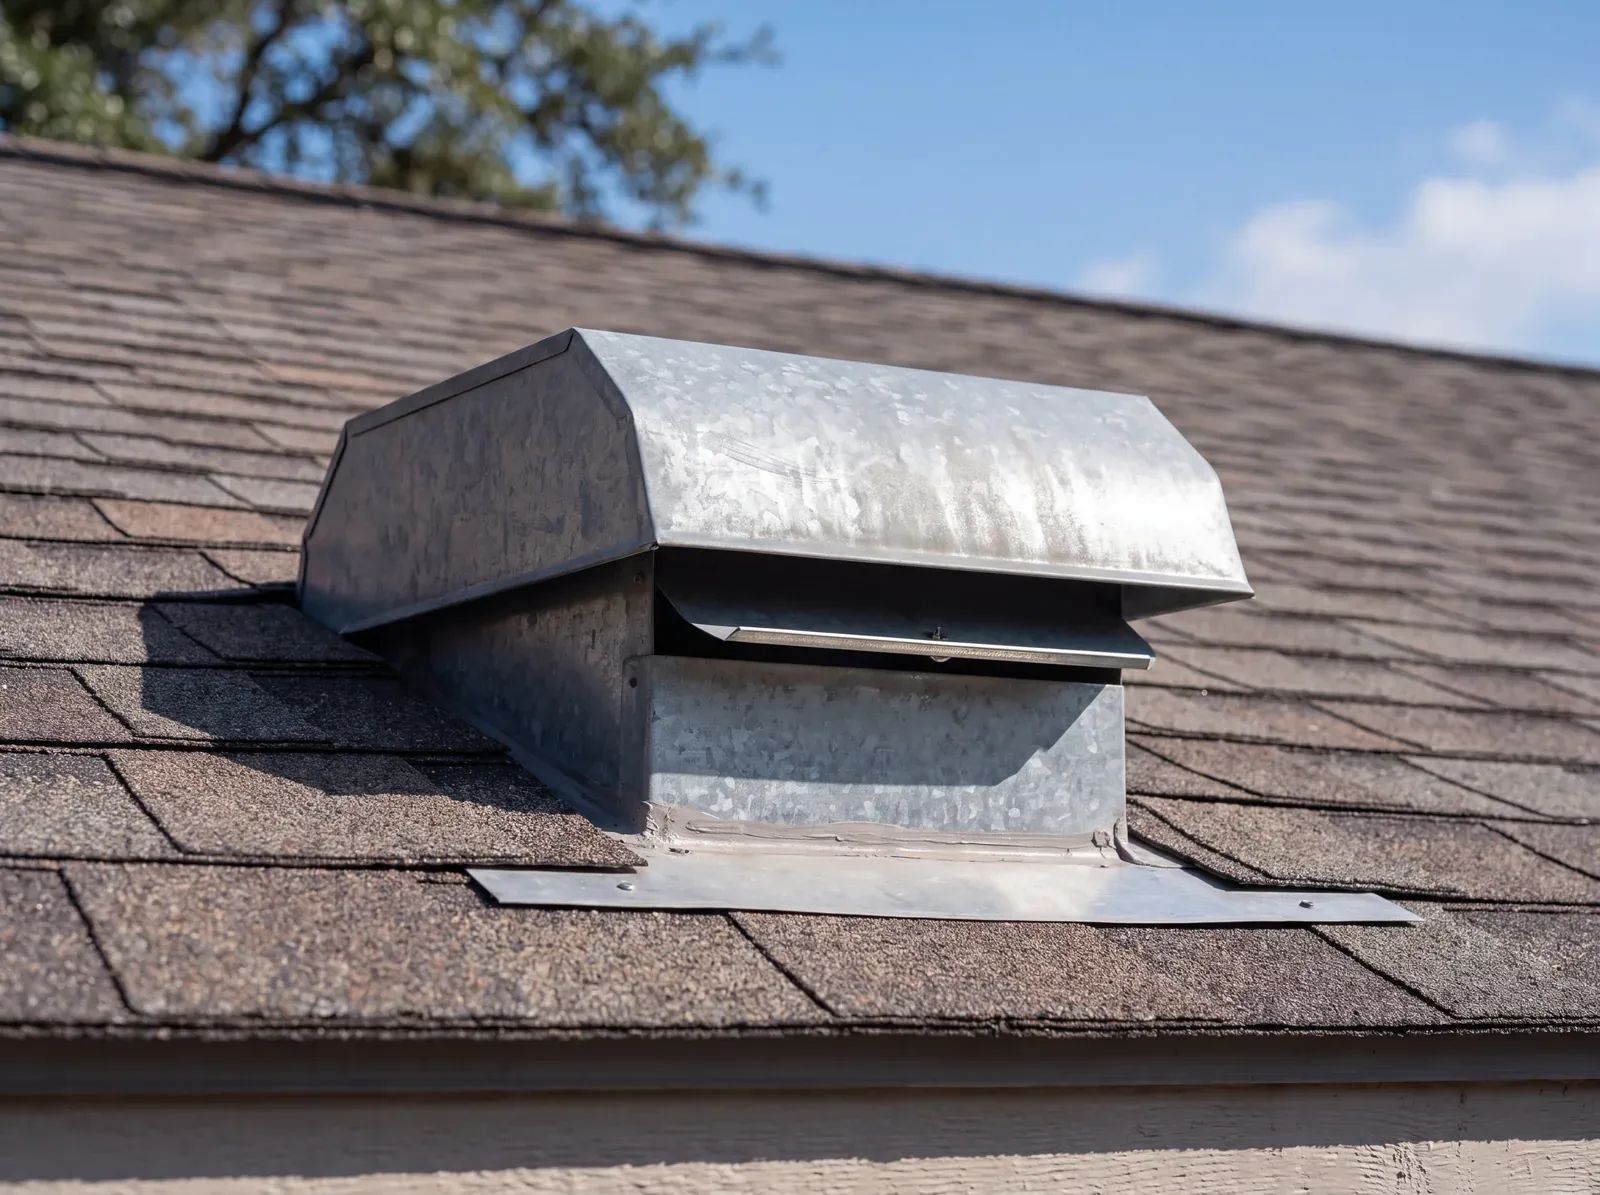
This requires going into the attic, or at minimum looking for where the exhaust duct exits the building. On the exterior of your home, you're looking for a small vent cap, usually rectangular or round, with a damper that opens when the fan runs. It should be on the roof or an exterior wall, not anywhere inside the attic. If you find the flexible duct simply ending in the attic insulation with no exterior exit, the fan is venting moisture into your home's structure on every use.
If your home was built before 1995, it's worth confirming duct termination before assuming the fan is properly installed. Attic termination was standard practice in Austin residential construction through the late 1980s and into the 1990s, and many homes in Hyde Park, Tarrytown, Travis Heights, and Clarksville still have this configuration.
What does proper ventilation design look like?
A well-designed bathroom ventilation system has three components: the right fan, a properly routed duct, and a control strategy that ensures it runs long enough. When a bathroom is being remodeled, all three can be addressed as part of the project. Retrofitting them after tile is up is significantly harder.
CFM sizing
For bathrooms under 100 square feet, use 1 CFM per square foot as your minimum. For larger bathrooms, calculate by fixture; the numbers are additive. When in doubt, size up: a higher-CFM fan in a smaller bathroom costs almost nothing in energy and significantly outperforms an undersized one.
| Room / fixture | Code minimum | Recommended | Notes |
|---|---|---|---|
| Any bathroom | 50 CFM | 70+ CFM | HVI minimum regardless of size. Size up for any full bathroom. |
| Up to 100 sq ft | 1 CFM/sq ft | 1.5 CFM/sq ft | A 70 sq ft bathroom: 70 CFM minimum, 110 CFM recommended in Austin's climate. |
| Toilet (separate enclosure) | 50 CFM | 50 CFM | Add to the shower/tub calculation when fixtures share one space. |
| Tub or shower | 50 CFM | 80 CFM | The primary moisture source. Size generously, especially for steam showers. |
| Jetted or soaking tub | 100 CFM | 110 CFM | Higher water volume, longer fill time, significant humidity load. |
| Large primary bath (all fixtures) | 150+ CFM | 200 CFM | Sum all fixtures. A 100 sq ft bath with tub, shower, and toilet: 200+ CFM. |
Source: Home Ventilation Institute (HVI). The minimum column is a code floor, not a target; Austin's baseline humidity warrants sizing toward the upper end of any range.
Duct routing
The duct should run as directly as possible from the fan to its exterior termination point, with as few bends as possible. Each 90-degree bend in a flexible duct reduces effective airflow; the length-equivalent of one elbow is typically 15 to 25 feet of duct. A fan rated at 110 CFM with three 90-degree bends and a 20-foot run may be delivering 70 to 80 CFM in practice. Rigid or semi-rigid metal duct performs significantly better than flexible vinyl for long runs.
The termination cap should have a damper that closes when the fan isn't running, which keeps outside air and pests from entering through the duct. Caps without dampers, or with dampers that have failed open, add to infiltration loads and reduce fan effectiveness.
Timer switch or humidity-sensing fan?
Both are significant improvements over a standard light switch. The right choice depends on how the bathroom is used and how much you want to rely on habit.
Timer switch
Lowest-cost upgrade
Typical cost
$20–$40, switch only; no fan replacement needed
How it works
Set to 20–30 minutes on the way in; runs the full post-shower window regardless of when you leave
Best for
Secondary and guest baths with predictable shower lengths
Limitation
Runs on a schedule, not on conditions; a long steam shower may need more time than the timer allows
Humidity-sensing fan
Most reliable over time
Typical cost
$80–$200 for a quality unit; fan replacement required
How it works
Reads the room's relative humidity and runs until it drops below a set threshold; no switches, no habit
Best for
Primary baths with heavy daily use, steam showers, households where consistency matters most
Limitation
Higher upfront cost, and sensor calibration matters; cheap units may not respond at the target threshold
When a client is genuinely torn, we advise by bathroom: the humidity-sensing fan in the primary bath that sees two showers a day, the timer switch everywhere else. Either way, the switch is part of the ventilation system, and it gets specified with the fan, not picked at the electrical aisle later.
Austin's humidity makes this matter more
Austin's climate is meaningfully different from the markets where most residential construction guidance is written. The gap between outdoor baseline humidity and the post-shower spike is smaller here, which means it takes longer to ventilate down to safe levels, and any moisture that does accumulate sits longer before naturally dissipating. A bathroom fan that's barely adequate in Phoenix may be genuinely insufficient in Austin.
After a shower pushes a bathroom above 90% relative humidity, the fan has to bring it back below 60%. In Phoenix, the outdoor air does some of that work; in Austin, the ventilation system has to do it all. That's why the 20-minute post-shower runtime that works in a dry climate should extend to 25–30 minutes here.
Ventilation and substrate: the system perspective
Ventilation and substrate choices are interdependent, and understanding one without the other misses why certain bathrooms consistently develop mold problems even when everything looks fine on the surface. The table below shows how the two variables combine, and why fixing only one of them doesn't fully solve the problem.
| Greenboard + standard fan | Greenboard + proper ventilation | Cement board + membrane + ventilation | |
|---|---|---|---|
| Moisture barrier | ✕ No waterproofing behind tile | ✕ No waterproofing behind tile | ✓ Full membrane; water routes to drain |
| Substrate mold risk | ✕ High; drywall paper is a food source | ◐ Lower humidity, substrate still vulnerable | ✓ No food source for mold |
| Air humidity control | ✕ Stays elevated post-shower | ✓ Cleared within 20–30 min | ✓ Cleared within 20–30 min |
| Long-term outcome | ✕ Mold likely within 2–5 years here | ◐ Reduced risk; substrate degrades over time | ✓ Redundant protection, two independent barriers |
The partial column is the point: most bathroom mold problems are a combination of both failures, and addressing only one leaves part of the system unresolved.
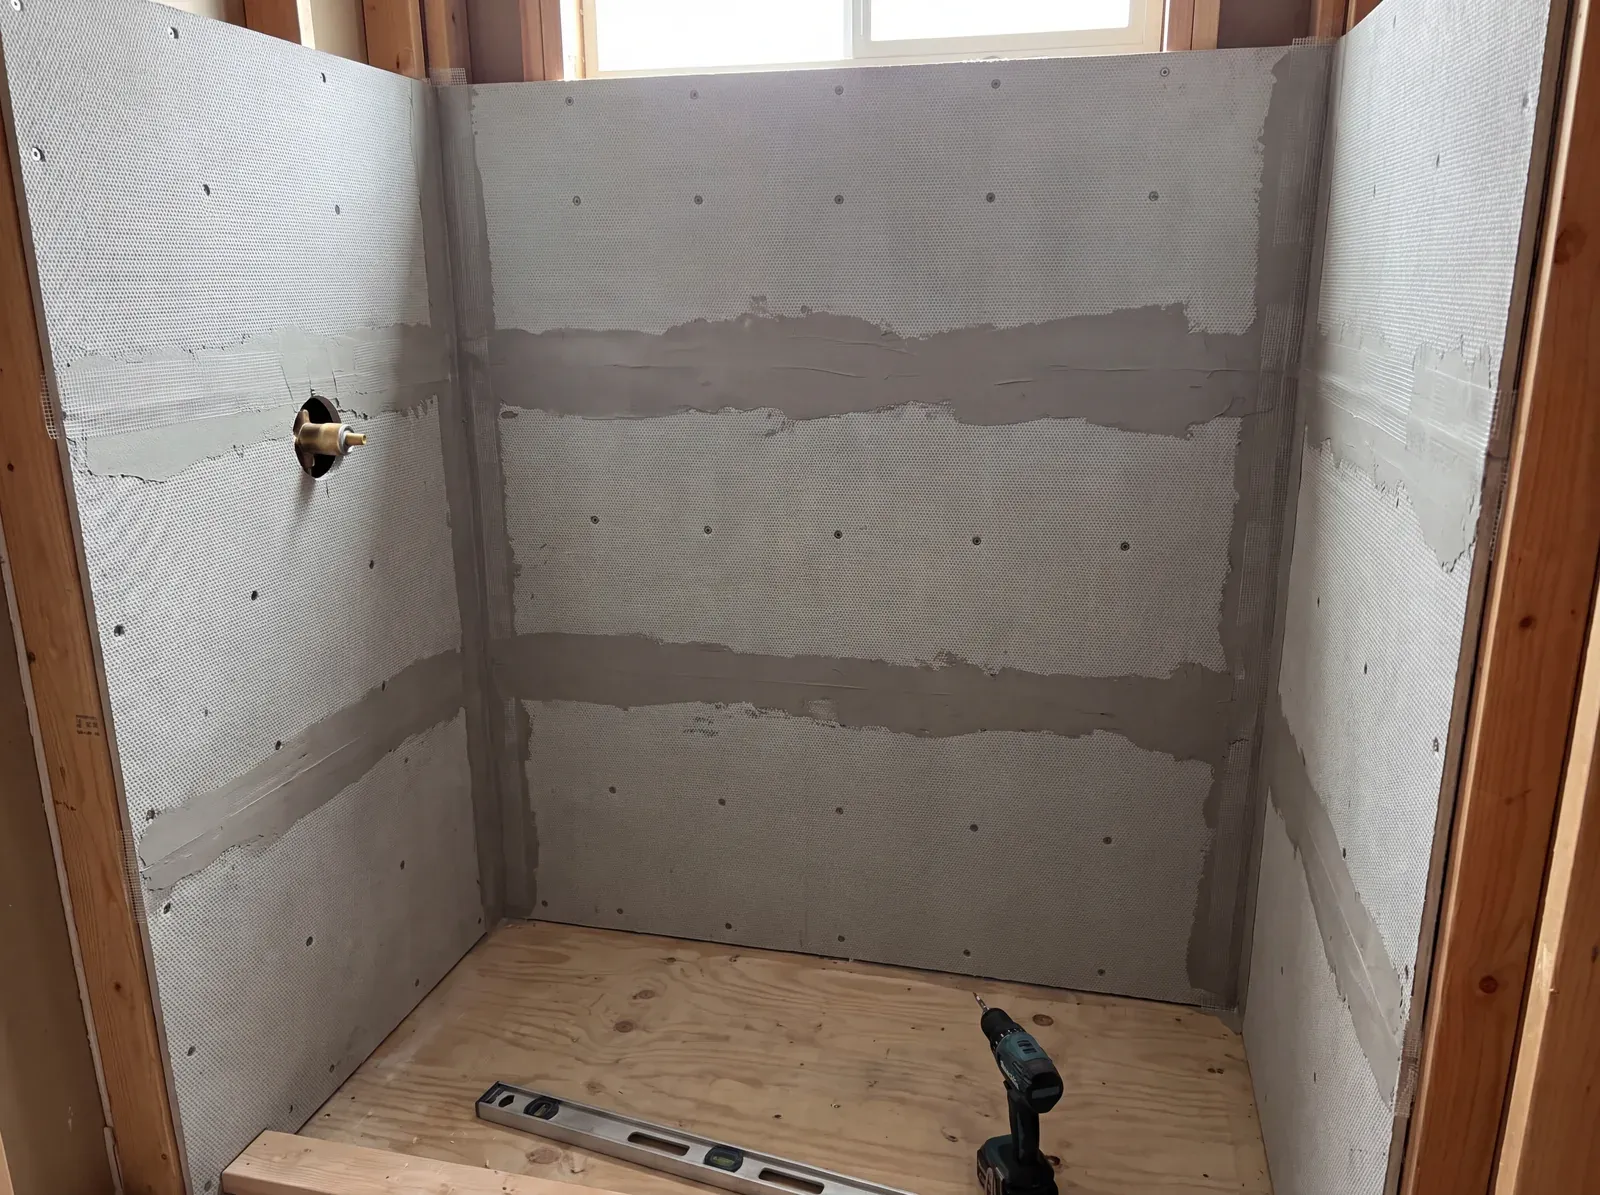
This is why the greenboard versus cement board decision is so consequential in a bathroom remodel. The substrate choice determines the long-term performance of the entire wet area, not just the immediate installation.
What Enso addresses before tile goes up
On every bathroom remodel we do, ventilation and substrate are specified during the design phase, not identified as problems during demolition. When existing conditions don't meet the standard we'd build to, that's documented in the design documents and addressed as part of the scope before construction begins. In practice, this means:
The design phase is where these decisions cost almost nothing to make correctly. Once demo has happened and framing is open, the cost of a discovered problem rises sharply, and if tile is already up, it rises further still. This is why the process we follow resolves material and system specifications before any wall opens; our approach to healthy building materials extends the same thinking across the full project, and the cost calculator gives you a realistic range before any conversation happens.
Leftover questions
The failure modes and fixes are covered above. These are the follow-up questions homeowners ask once they've checked their own fan.
A minimum of 20 minutes after the shower ends, not just while you're in the bathroom. Most people turn the fan off when they leave, which is well before the humid air has cleared. In Austin's climate, 25 to 30 minutes is more reliable. A timer switch or humidity-sensing fan removes the reliance on habit entirely and is worth installing in any bathroom that sees daily use.
Let's design a bathroom that stays dry
Fan sizing, duct routing, and substrate settled before the first tile goes up. You'll leave with real next steps, whether or not we build together.